Stable commitment to every leap, customized every flat
Blog


Suning County, Cangzhou City, Hebei Province, China
15100291481
dxfloor144@gmail.com
Stable commitment to every leap, customized every flat
Blog
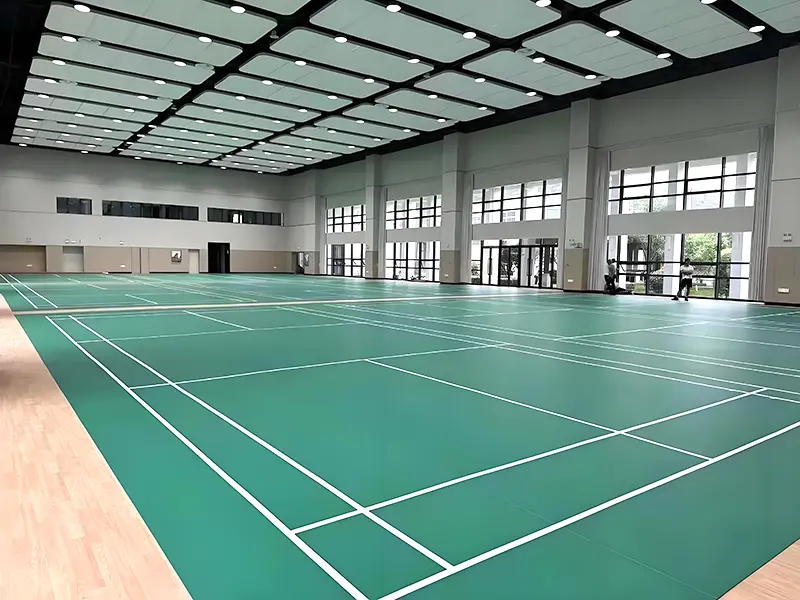
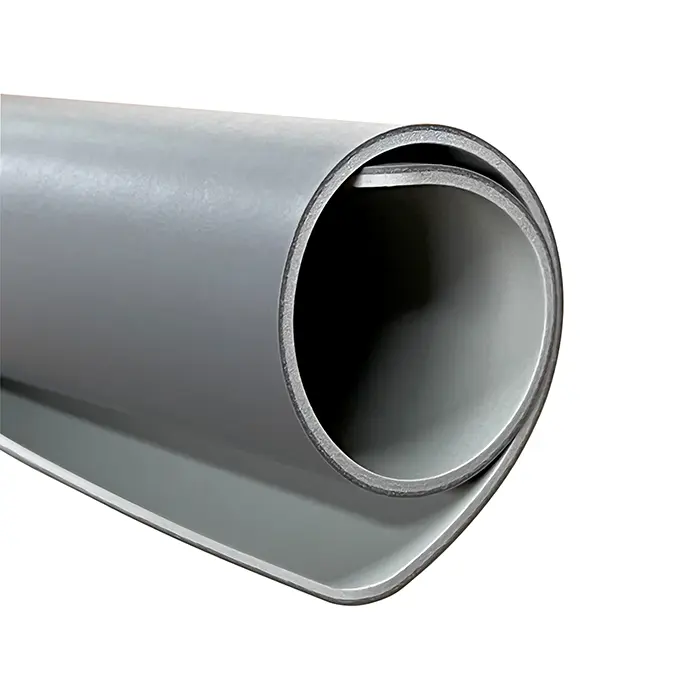
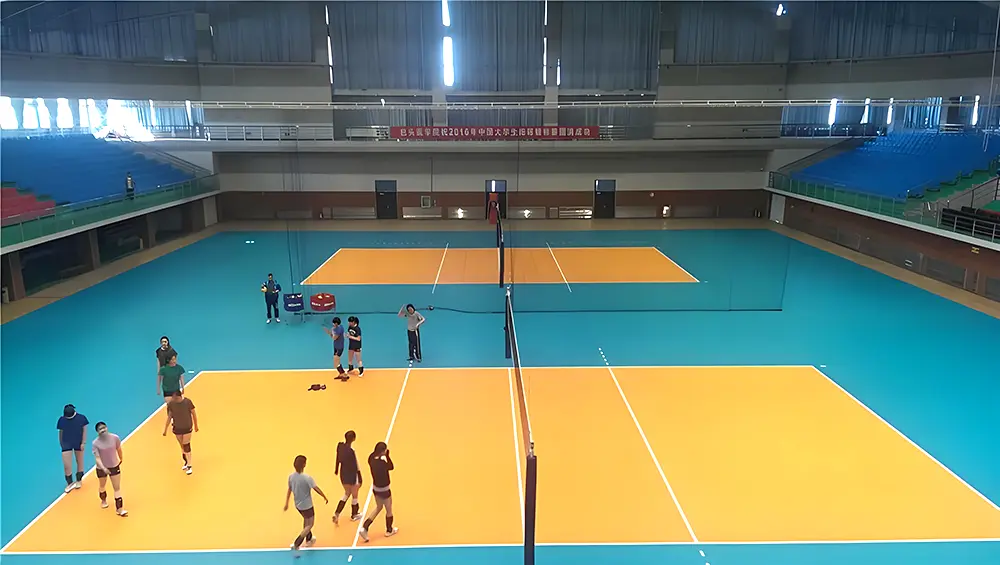
Vinyl sports flooring, prized for its elasticity, slip resistance and durability, is widely used in basketball courts, badminton courts and gyms. However, post-installation blistering (localised bulging and edge curling) not only compromises the sporting experience but also shortens the flooring's lifespan, potentially posing tripping hazards for athletes. Industry statistics indicate that over 70% of PVC sports flooring blistering stems from installation oversights, with improper subfloor preparation, incorrect auxiliary material selection, and uncontrolled environmental humidity being the primary causes.
This article combines vinyl sheet flooring material properties with installation logic to thoroughly analyse the five core causes of blistering. It provides actionable prevention and repair solutions to help venue operators and installation teams mitigate risks.
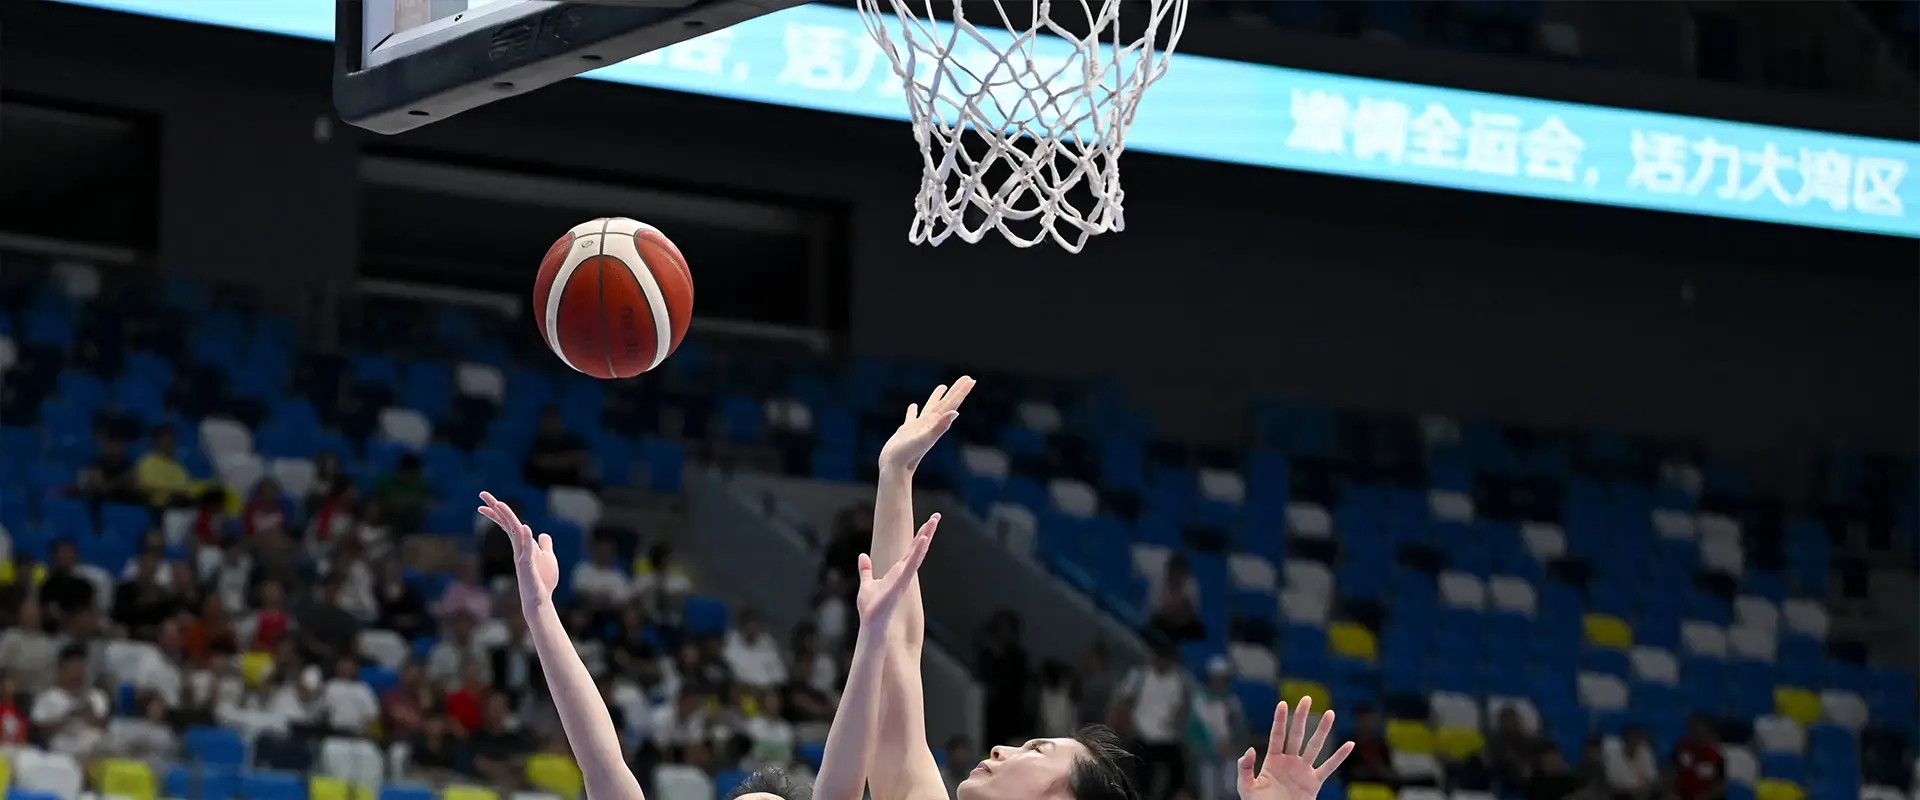
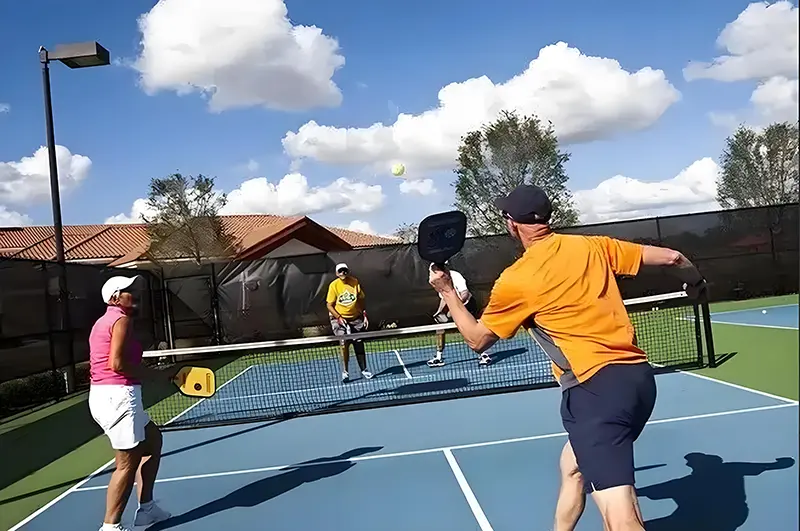
Blistered areas may protrude 3–10mm, posing tripping hazards during rapid running, jumping, or sudden directional changes. This risk is heightened in high-intensity sports like basketball and volleyball, potentially causing ankle sprains or knee contusions.
Bubbles compromise floor flatness, causing ball bounce trajectories to deviate (e.g., basketball rebounds may deviate over 2cm), undermining training and match fairness;
Flooring over bulges, subjected to prolonged uneven stress, becomes prone to cracking and weld separation. The original 8-12 year lifespan may be reduced to 3-5 years, increasing refurbishment costs.
If bulges remain untreated, moisture will continue to spread peripherally, potentially causing extensive floor dampness and deformation. Repairs necessitate complete removal and reinstallation, leading to venue downtime (typically 3-7 days).
PVC flooring is an impermeable polymer material. If the subfloor (concrete base, self-levelling layer) is not fully dry, or if environmental humidity exceeds standards during installation, moisture trapped beneath the flooring is ‘sealed’ within the substrate. This reduces the adhesive bond between the flooring and adhesive.
This moisture gradually condenses into large droplets or pools, generating upward ‘thrust pressure’ that forces the flooring away from the substrate, creating localised blistering.
If the substrate's dryness only ‘meets surface standards’ (surface moisture content <3%, deep layer >8%), blistering will gradually appear within 1-3 months post-installation and may be mistakenly attributed to ‘flooring quality issues’.
Resolution:
Employ a professional floor moisture meter to take 10-15 uniform measurement points (one per 5m²) across the surface, ensuring deep-layer moisture content ≤3% (concrete subfloor) or ≤2% (self-levelling layer).
Should moisture exceed limits, implement ventilation and dehumidification measures.
For surfaces exhibiting ‘moisture return’ (e.g., underground venues, ground-floor areas), first apply 1-2 coats of epoxy damp-proof primer (dry film thickness ≥0.2mm) to block rising groundwater vapour.
Repairing Blistering:
Use a craft knife to cut a ‘V-shaped notch’ along the blister's edge (avoid severing the flooring grain);
Inject dry quicklime powder or silica gel desiccant into the notch using a syringe to absorb internal moisture;
After 24 hours, apply specialised PVC flooring adhesive (e.g., Henkel LP650) to the base layer, press flat, and weigh down with heavy objects (e.g., 5kg steel plate) for 12 hours.
PVC sports flooring and commercial vinyl flooring require a flatness tolerance of ≤2mm per 2m length. Uneven surfaces cause ‘height discrepancies’ at floor joints, preventing even heat distribution from the hot-air gun during welding and resulting in ‘cold welds’.
Remedial measures:
For minor unevenness, apply self-levelling cement. For significant unevenness (deviation >5mm): first grind protrusions using a terrazzo grinder, then apply repair mortar.
Acceptance criteria: Inspect using a 2m straightedge with a feeler gauge to ensure all deviations ≤2mm and no sharp protrusions.
Post-bulging treatment:
Cut along the weld seam with a craft knife to remove the bulging floor section (retaining a 10cm-wide intact weld seam);
Clear moisture and residual adhesive from the substrate, then reapply floor adhesive;
Install a new weld strip and perform secondary welding with a heat gun. After cooling, use a weld line scraper to smooth the surface.
Concrete surfaces naturally form 2-5mm expansion joints during thermal expansion/contraction or drying. Moisture migrates upwards through these joints, causing adjacent PVC flooring to absorb dampness and develop ‘discontinuous blistering along expansion joints’ (common in large venues like sports arenas and exhibition centres).
Remedial measures:
Vacuum debris and grit from expansion joints. Fill joints flush with the floor surface using elastic joint filler with ≥200% elongation. Lay a 10cm-wide PVC isolation strip (0.1mm thick) over the filler surface before applying self-levelling compound to prevent joint displacement affecting the flooring.
Post-bulging:
Remove flooring from the bulged area and clear old filler from expansion joints;
Reapply new elastic filler and allow 24 hours for drying;
Install new PVC flooring, leaving a 1mm gap at the expansion joint location during installation (to prevent flooring displacement with joint movement).
Auxiliary materials for PVC sports flooring (adhesives, double-sided tape, separation layers) must be precisely matched to the subfloor type, usage scenario, and climatic conditions. Incorrect material selection directly causes bonding failure and floor displacement.
Solution:
Cement floors and self-levelling compounds: Recommend double-sided tape (0.15mm thick, bond strength ≥1.5N/cm) + floor adhesive (e.g., 3M 468MP).
Wooden Floors: Employ single-sided adhesive tape (0.1mm thickness, low adhesive strength) + edge fixing adhesive. Alternatively, use spot adhesive in combination with our Shengbang anti-slip sports flooring featuring an NBR backing layer.
Renovating Existing Flooring: Utilise a separation layer (PVC film, 0.2mm thickness) + neutral-cure floor adhesive.
Post-Bubbling:
Remove flooring from blistered area and clean residual adhesive from substrate (gently scrape with a scraper to avoid damaging the surface);
Re-select appropriate auxiliary materials based on substrate type (e.g., replace with single-sided adhesive tape for wooden floors);
Lay new flooring and apply heavy weights for 12 hours to ensure secure bonding.
The bonding of PVC sports flooring relies on the adhesive's ‘curing reaction’, and relative air humidity directly impacts the adhesive's curing speed and bonding strength.
Humidity >75%: Water evaporation from the adhesive slows, causing a ‘surface dry, interior wet’ phenomenon – the surface appears cured while the interior remains damp. After installation, the adhesive cannot form an effective bond, leading to delamination and blistering;
Humidity < 20%: Adhesive cures rapidly (standard curing time shortens from 4 hours to 1.5 hours). When applying adhesive over large areas (e.g., 100m²+), later-laid sections may encounter adhesive that has lost bonding strength, resulting in ‘false adhesion’ that subsequently blisters under load.
Common misconception: Focusing solely on floor surface moisture while neglecting ambient humidity, particularly during northern winters (heated rooms <15% humidity) or southern rainy seasons (humidity >80%), where bulging rates can reach 40%.
Solutions:
Monitor air humidity prior to installation.
During installation, adjust adhesive application methods:
Humidity >75%: ① Reduce single application area (≤10m² per application) to prevent prolonged exposure of adhesive; ② Extend adhesive drying time (from 5 minutes to 10-15 minutes). Gently touch adhesive surface with finger; proceed only when no longer tacky.
Humidity < 20%: ① Increase adhesive application area per application (≤5m² per application) to accelerate installation speed; ② Add 5%-10% slow-drying agent to adhesive (must be compatible with adhesive brand, e.g., Henkel slow-drying agent) to extend curing time.
Post-blistering adhesive reinforcement:
① Inject a small amount of fast-drying floor adhesive (e.g., 3M 77 spray adhesive) around blister edges using a syringe;
② Manually press the blistered area to ensure full adhesive contact with both flooring and substrate;
③ Apply weight for 8 hours; remove weights only after complete adhesive curing.
Substrate: Dryness (moisture content ≤3%), flatness (≤2mm/2m), expansion joints (sealed);
Environment: Relative humidity (20%-75%), temperature (15-30°C), no strong winds/rain;
Auxiliary Materials: Adhesive shelf life (≥6 months before expiry), compatibility of materials with substrate (e.g., single-sided adhesive tape for wooden floors).
Floor Cleaning: Prior to laying, wipe the floor with a mop dipped in neutral detergent (e.g., washing-up liquid) to ensure no dust or grease residue (grease compromises adhesive bonding).
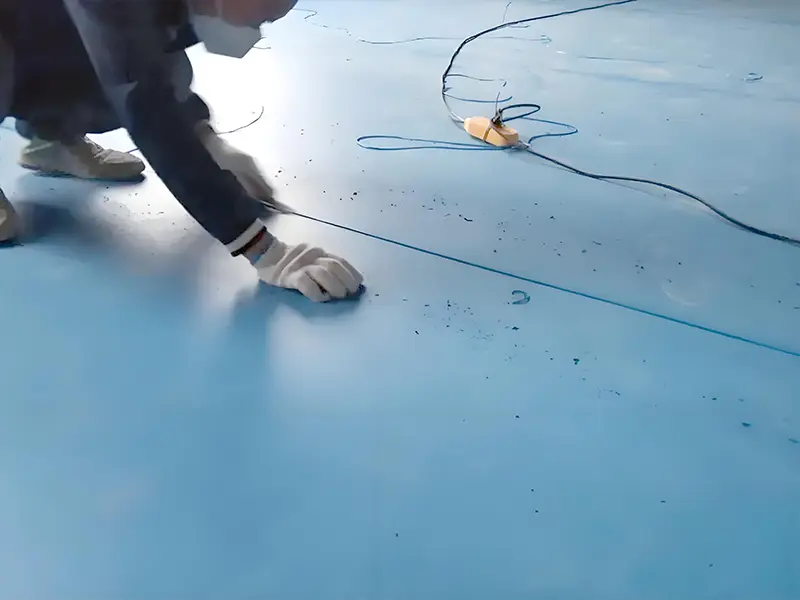
Adhesive application: Apply adhesive evenly using a notched trowel (2mm notch depth), ensuring no missed areas or adhesive build-up.
Floor pressing: After laying each floorboard, tap along the edges with a 5kg rubber mallet to ensure tight adhesion between the floorboard and adhesive.
Prohibit heavy object (e.g., equipment, scaffolding);
Maintain ventilation but avoid direct sunlight (to prevent thermal expansion);
Inspect the floor surface daily. Promptly press down and repair any minor blisters (<0.2m²) to prevent expansion.

Leave Your Message
Message us for free samples and quotes!