Stable commitment to every leap, customized every flat
Blog


Suning County, Cangzhou City, Hebei Province, China
15100291481
dxfloor144@gmail.com
Stable commitment to every leap, customized every flat
Blog
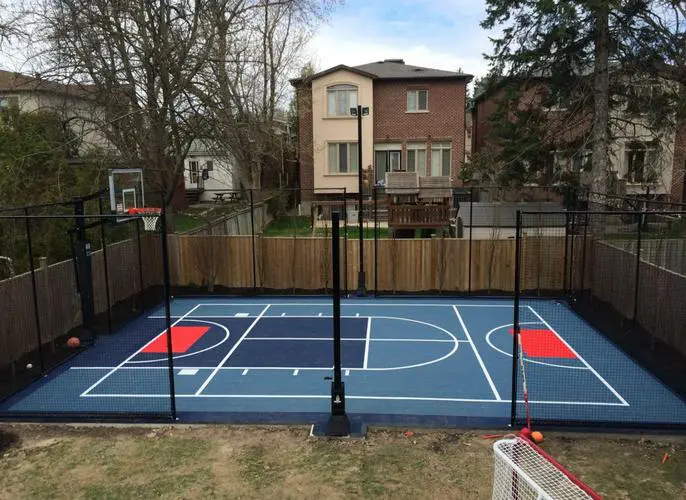
Creating a personalized outdoor basketball court is easier than ever with PP interlocking tiles—a durable, cost-effective, and customizable solution. Whether you’re a casual player or training for competition, this guide covers everything from material selection to installation, ensuring your DIY project meets performance and aesthetic goals.
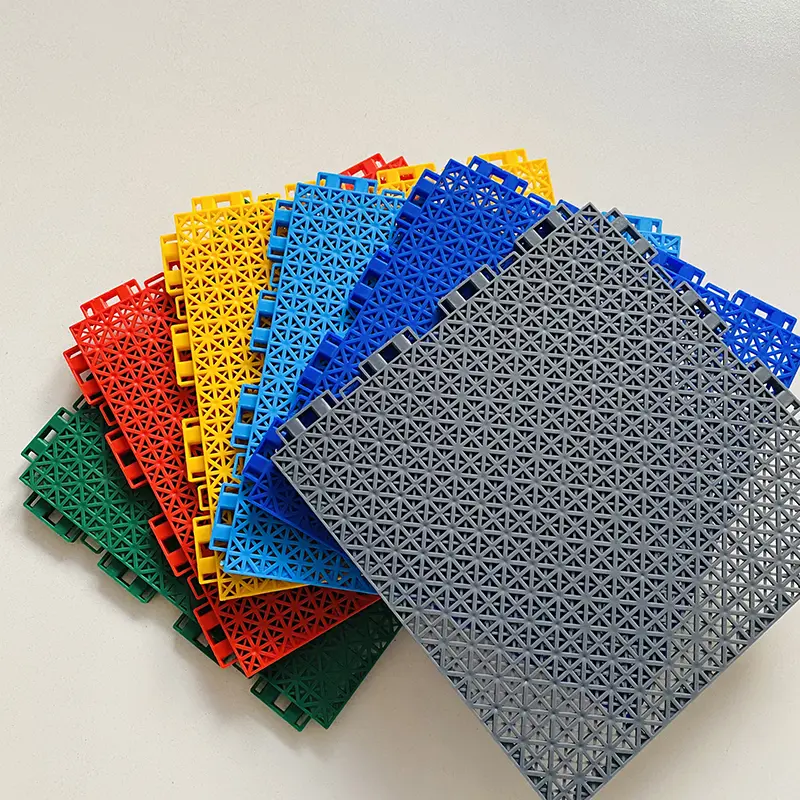
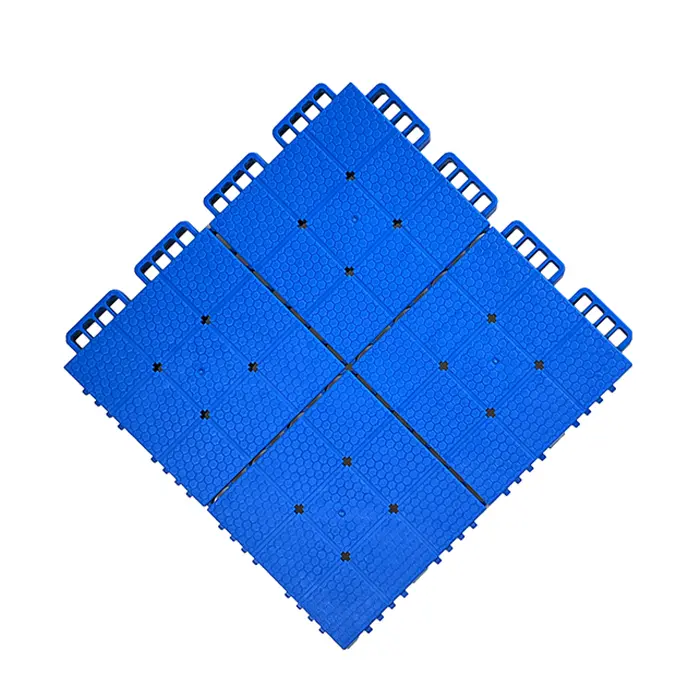
PP (polypropylene) interlocking tiles are engineered for outdoor use, combining strength, flexibility, and low maintenance. Key benefits include:
UV Stability: Resists fading and cracking in direct sunlight.
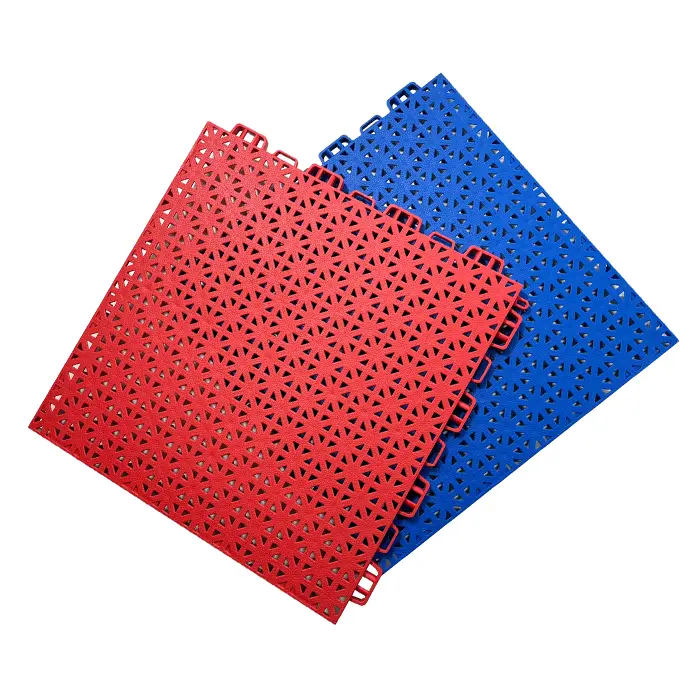
Rapid Drainage: Perforated designs or grid structures allow water to flow through, preventing pooling and mold growth.
Shock Absorption: Reduces joint strain during high-impact movements, with optional underlay for added cushioning.
Tool-Free Installation: Snaps together without glue or nails, making it ideal for DIY enthusiasts.
Customization: Choose from vibrant colors, patterns, and even add logos or game lines.
These tiles meet FIBA standards for ball rebound (≥85%) and impact resistance, ensuring professional-grade performance.
To build your court, you’ll need:
Floor Kit Components:
Outdoor Basketball Court Tiles: Typically 30x30x1.38cm, available in solid colors or custom designs (e.g., checkerboard, gradient).
Edge Trims: Finishes the perimeter for a polished look.
Optional Underlay: Soft or hard plastic pads for extra comfort or stability.
Tools:
Measuring tape, chalk, or laser level.
Jigsaw with a fine-tooth blade (for cutting tiles).
Rubber mallet to secure locks.
Broom and pressure washer for surface prep.
Painting Supplies (if adding lines): Acrylic or polyurethane outdoor paint, painter’s tape, and a stencil (optional).
Clean the Surface: Remove debris, grass, or dirt. For concrete/asphalt, pressure wash and let dry fully.
Check: Use a 3m straightedge to ensure the base is level (≤3mm deviation). Fill cracks with epoxy or concrete patch.
Ensure Drainage: If installing on grass, compact soil and add a 2-3” gravel base with a 2-3% slope for water runoff.
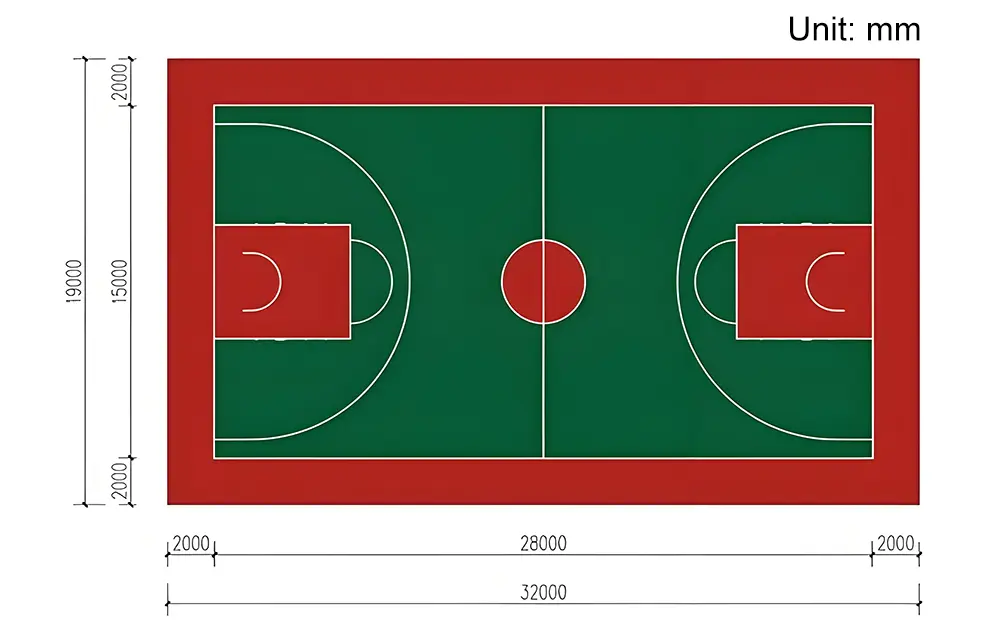
Plan the Layout: Start from a corner and lay tiles in rows, ensuring interlocking edges align. For large courts, leave 8-10mm expansion gaps around the perimeter.
Cut Tiles as Needed: Measure and trim edges with a jigsaw for a snug fit.
Secure the Locks: Tap tiles with a rubber mallet to ensure tight connections. Walk the surface to check for loose spots.
Color Patterns: Mix tile colors during installation (e.g., border a black court with blue tiles).
Game Lines:
Use painter’s tape to mark boundaries (e.g., 3-point line, free-throw area).
Apply two coats of outdoor-rated paint, letting each dry fully. Remove tape carefully to avoid smudging.
For logos, use stencils or hire a professional vinyl cutter.
Bold Contrasts: Pair black tiles with white lines for a classic look, or try a red-and-gray scheme for energy.
Team Spirit: Add your favorite team’s logo or mascot in the center.
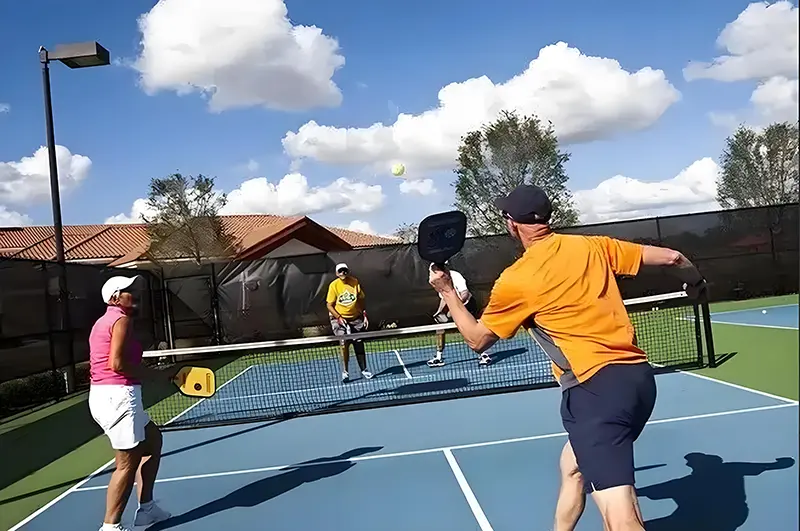
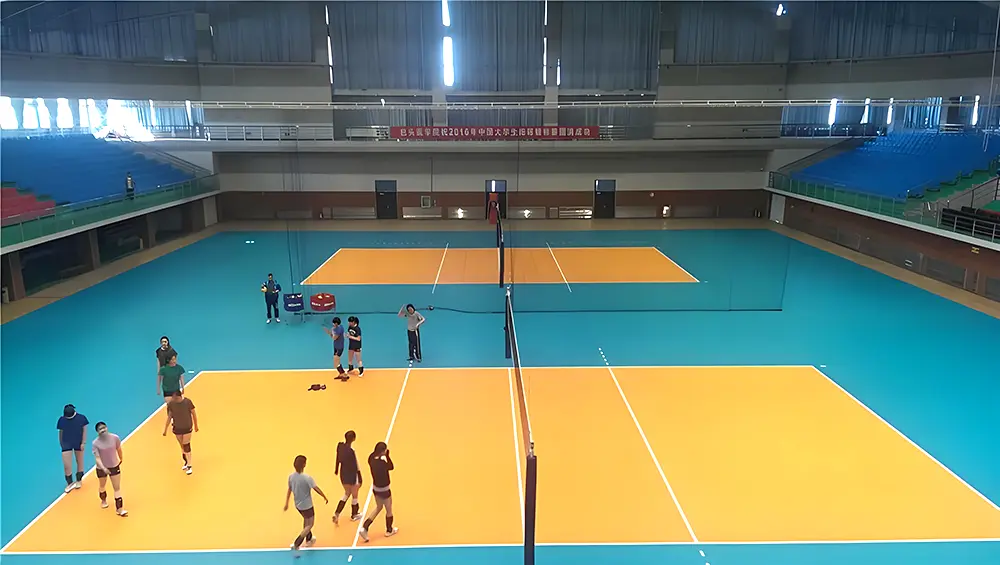
Multi-Sport Flexibility: Create a dual-purpose court with interchangeable tiles for basketball and pickleball.
Modular Upgrades: Start with a half-court and expand later using compatible tiles.
Clean Regularly: Sweep debris and hose down monthly. Use a mild detergent for stubborn stains.
Repair Damaged Tiles: Pry out broken tiles and replace them with spares from your kit.
Check Expansion Gaps: Ensure gaps remain clear of debris to prevent warping in extreme temperatures.
Reapply Paint as Needed: Touch up lines every 1-2 years to maintain visibility.
Q: Can I install PP tiles over grass?
A: Yes, but compact soil and add a gravel base for stability.
Q: Do the tiles get slippery when wet?
A: Textured or perforated surfaces provide COF ≥0.70 (dry) and ≥0.60 (wet), meeting safety standards.
Q: How long do PP tiles last?
A: 8–12 years with proper maintenance.

Leave Your Message
Message us for free samples and quotes!