Stable commitment to every leap, customized every flat
Blog


Suning County, Cangzhou City, Hebei Province, China
15100291481
dxfloor144@gmail.com
Stable commitment to every leap, customized every flat
Blog
Laying 2mm or 3mm thick commercial vinyl flooring requires precision tailored to the unique demands of dance studios (elasticity, slip resistance, seamless surface for movement) and hospitals (antibacterial performance, seamless welding, easy cleaning). Unlike thicker vinyl flooring for high-traffic industrial areas, these thin-gauge vinyl floors prioritize surface flatness, material adhesion, and scenario-specific functionality. This guide breaks down the step-by-step installation process, highlighting critical details for dance studio and hospital settings to ensure durability, safety, and compliance with industry standards.
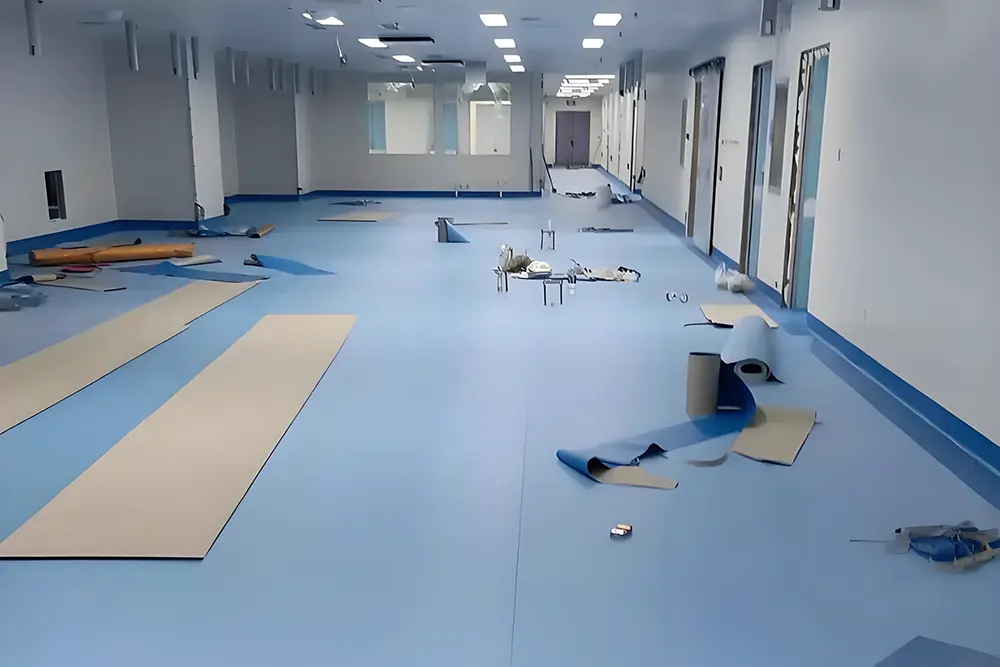
The success of laying 2mm/3mm commercial vinyl flooring starts with thorough preparation, as thin materials are more sensitive to base irregularities and environmental changes.
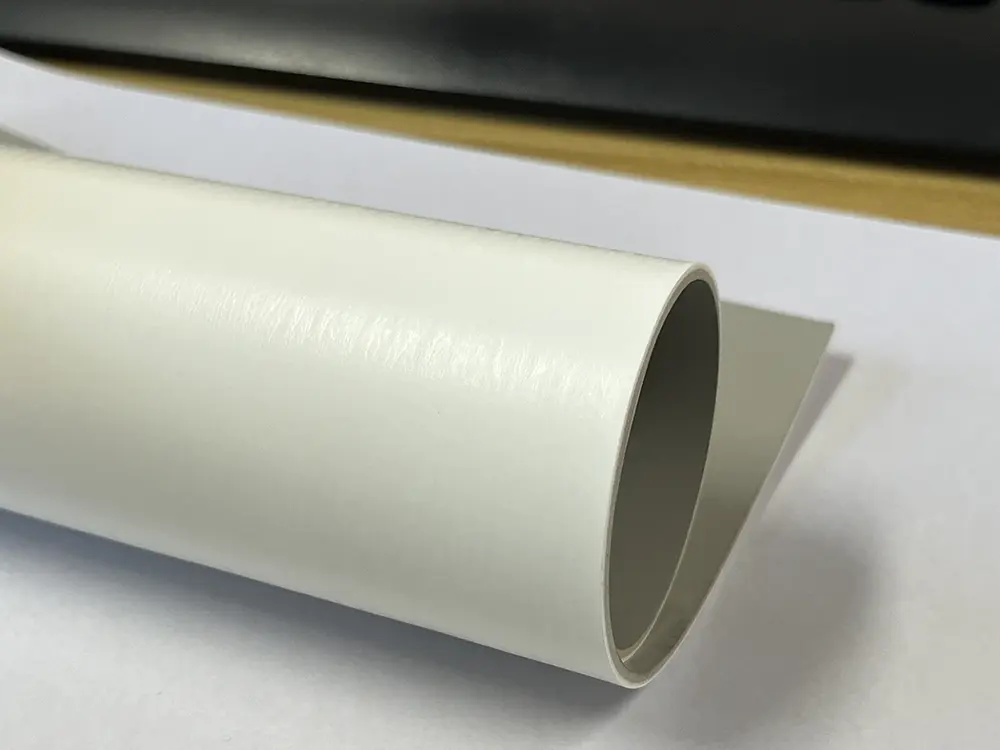
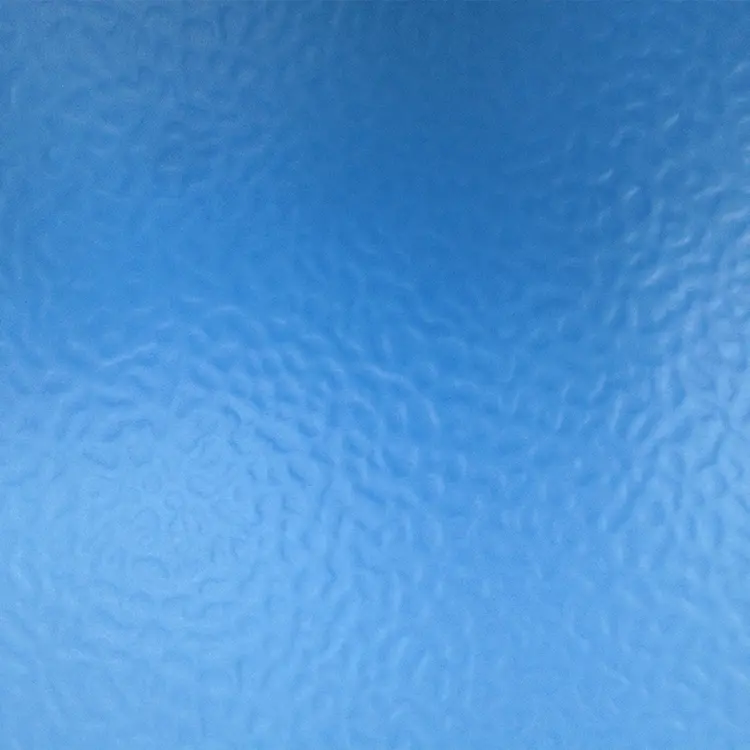
- Commercial Vinyl Flooring (2mm/3mm)
- Dance Studios: Choose PVC vinyl flooring with a foam backing (2mm with 1mm foam/3mm with 1.5mm foam) for shock absorption (20-30% impact reduction) and slip resistance (COF ≥0.65 dry/wet), complying with dance floor elasticity standards. Opt for wood-patterned or solid-color matte finishes to avoid glare during movements.
- Hospitals: Select antibacterial homogeneous vinyl flooring (2mm/3mm) with ISO 22196 antibacterial certification (99% reduction of E. coli/S. aureus) and low-VOC emissions (GREENGUARD Gold certified). Prioritize seamless-weldable formulations to prevent bacterial buildup in gaps.
- Auxiliary Materials
- Adhesive: Water-based PVC flooring adhesive (solvent-free, low odor) for dance studios; antibacterial adhesive for hospitals to enhance hygiene.
- Welding rods: Same material as the vinyl floor (PVC/PUR) for seamless welding, matching the floor color for a uniform look.
- Moisture barrier: 0.2mm PE film for damp areas (e.g., hospital basements, dance studio ground floors).
- Edge trim: Aluminum or PVC transition strips for connecting flooring to doorways or different materials (e.g., hospital corridors to exam rooms).
- Measuring & Marking: Laser level, 3m straightedge, tape measure, chalk line (for precise layout and boundary marking).
- Cutting: Utility knife with replaceable blades, straightedge ruler, jigsaw (for cutting around columns/obstacles).
- Application: Notched trowel (1mm×1mm teeth for 2mm flooring; 1.5mm×1.5mm teeth for 3mm flooring), rubber roller (50kg for pressing out air bubbles), rubber mallet (for edge fitting).
- Welding: Hot air welder (350-400℃), groover, floor scraper (for trimming excess welding rod).
- Cleaning: Industrial vacuum, damp mop, neutral cleaner (for base preparation and post-installation cleaning).
- Environmental Conditions: Maintain installation temperature at 15-30℃ and relative humidity at 40-60%. For hospitals, ensure the space is free of dust and sterile (post-construction cleaning and disinfection required). For dance studios, avoid cross-construction (e.g., painting) to prevent surface contamination.
- Material Acclimation: Unroll the vinyl flooring and lay it flat in the installation area for 24-48 hours to adapt to temperature and humidity, reducing curling or shrinking after installation. For hospital-grade vinyl flooring, store it in sealed packaging until installation to preserve antibacterial properties.
2mm/3mm thin vinyl flooring has strict requirements for the base—flatness, dryness, firmness, and cleanliness—as even minor irregularities will show through the thin surface. The base preparation process differs slightly for dance studios and hospitals:
- Flatness: Deviation ≤1mm/2m (stricter than the 2mm/2m standard for thicker vinyl). Use a 3m straightedge to check; fill low spots with self-leveling cement and grind down high spots with a floor grinder.
- Dryness: Moisture content ≤8% (test with a moisture meter). For damp bases, lay a PE moisture barrier (overlap ≥10cm, sealed with tape) or apply a moisture-proof primer.
- Cleanliness: Remove dust, oil, grease, and loose concrete with a vacuum and industrial cleaner. For hospitals, disinfect the base with a medical-grade bactericide and allow it to dry completely.
- Firmness: Ensure the base is free of hollowing (hollowing area ≤5%). Repair hollow areas by cutting and refilling with concrete.
- Dance Studios: Add a 1-2mm thick elastic underlayment (e.g., rubber mat) under the vinyl for enhanced shock absorption, critical for reducing joint strain during dance movements. Ensure the underlayment is flat and fixed to avoid shifting.
- Hospitals: Apply an antibacterial epoxy sealer to the concrete base to create an additional barrier against bacterial growth. For operating rooms or isolation wards, the base must meet Class 1000 cleanroom standards (no dust, seamless).
2mm/3mm commercial vinyl flooring is primarily installed using the full adhesive method (permanent, seamless) for both dance studios and hospitals, as floating or loose-lay methods lack the stability required for these high-use scenarios.
- Marking Lines: Use a laser level to snap reference lines (centerline, boundary lines) for the floor. For dance studios, mark dance floor boundaries (e.g., 10m×15m for a standard studio) and performance area lines. For hospitals, mark off functional zones (e.g., patient corridors, exam rooms) and ensure alignment with doorways/equipment placement.
- Pre-Cutting: Unroll the vinyl flooring and cut it to size, leaving a 5-8mm expansion gap along walls/columns to accommodate thermal expansion. For 2mm flooring, use a sharp utility knife and straightedge for clean cuts; for 3mm flooring, score the surface first before cutting to avoid cracking.
- Plan: For solid color (e.g., gray vinyl flooring for dance studios), For hospitals, use solid-color vinyl to minimize visual clutter and ease cleaning.
- Trowel Selection: Use a 1mm×1mm notched trowel for 2mm flooring and a 1.5mm×1.5mm trowel for 3mm flooring to apply a thin, even layer of adhesive (coverage: 80-100g/㎡).
- Adhesive Type:
- Dance Studios: Water-based acrylic adhesive for strong adhesion and flexibility (accommodates slight floor movement during dance).
- Hospitals: Antibacterial solvent-free adhesive to prevent microbial growth in the adhesive layer.
- Open Time: Allow the adhesive to dry for 10-15 minutes until it is tacky but not wet (touch test: sticky to the finger but no residue transfer). This prevents air bubbles and ensures optimal adhesion.
- Laying Technique: Start from the centerline and work toward the walls to ensure symmetry. Slowly lay the vinyl flooring onto the adhesive, using a 50kg rubber roller to press the floor firmly from the center outward, eliminating air bubbles and ensuring full contact with the adhesive.
- Edge Fitting: For walls/columns, use a rubber mallet to press the vinyl tightly against the surface, trimming excess material with a utility knife. Maintain the 5-8mm expansion gap and fill it with foam backer rod (for hospitals, seal the gap with antibacterial silicone to prevent dust accumulation).
- Seam Alignment: For multiple vinyl sheets, align seams tightly (gap ≤0.3mm) and roll the seam area repeatedly with a 20kg hand roller to ensure adhesion. Avoid overlapping seams, as this creates tripping hazards—critical for dance studios (dynamic movement) and hospitals (wheelchair/bed traffic).
Seam welding creates a seamless surface that prevents water, dirt, and bacteria from accumulating in gaps—mandatory for hospitals (especially operating rooms, ICUs) and highly recommended for dance studios (to avoid tripping and ease cleaning).
- Grooving: Wait 24 hours for the adhesive to fully cure, then use a groover to cut a V-shaped groove along the seam (depth = 2/3 of the flooring thickness: 1.3mm for 2mm flooring, 2mm for 3mm flooring). Clean the groove of dust with a vacuum.
- Welding: Insert a matching PVC welding rod into the groove and heat it with a hot air welder (350-400℃) at a steady speed (0.5-1m/min). Ensure the welder moves straight to create a uniform weld. For hospitals, use antibacterial welding rods to maintain hygiene standards.
- Trimming: Allow the weld to cool for 10-15 minutes, then use a floor scraper to trim excess rod flush with the floor surface. For dance studios, lightly sand the weld to ensure a smooth surface that won’t interfere with dance movements (e.g., spins, slides).
- Edge Trim Installation: Attach aluminum or PVC transition strips to doorways, carpeted areas, or different floor materials using screws or adhesive. For hospitals, choose rounded edge trim to prevent wheelchair snags; for dance studios, use low-profile trim to avoid tripping during jumps.
- Scenario-Specific Customization:
- Dance Studios: Use vinyl floor paint (wear-resistant, slip-resistant) to mark dance lines (e.g., barre alignment, center stage) or logos. Apply 2-3 coats for durability, allowing 4 hours of drying between coats.
- Hospitals: Install antibacterial vinyl cove base (6-10cm height) along walls to create a seamless transition between floor and wall, eliminating hard-to-clean corners. For exam rooms, pre-cut vinyl around medical equipment bases and weld seams for a sterile surface.
Commercial dance flooring installation demonstration:
- Allow the flooring to cure for 48 hours (dance studios) or 72 hours (hospitals, for full antibacterial activation). During this time, prohibit foot traffic, heavy equipment, and cleaning with water. For hospitals, conduct a sterile wipe-down after curing before putting the space into use.
- General Standards:
- Flatness: No bumps or hollows; 3m straightedge test shows deviation ≤1mm/2m.
- Adhesion: No lifting or bubbling at the edges or seams.
- Weld Quality: Welds are smooth, continuous, and free of cracks (for hospitals, test welds for water tightness with a spray bottle).
- Dance Studio-Specific Standards:
- Slip Resistance: COF ≥0.65 (dry/wet) to prevent slips during dynamic movements.
- Elasticity: Impact absorption ≥20% (test with a standard impact tester) to protect dancers’ joints.
- Hospital-Specific Standards:
- Antibacterial Performance: 99% reduction of bacteria (per ISO 22196 testing); no microbial growth in seams or edges.
- Cleanability: Surface resists staining from disinfectants (e.g., bleach, alcohol) and can be wiped clean without residue.
- Daily Maintenance
- Dance Studios: Sweep with a soft-bristle broom or vacuum to remove dust; damp-mop with neutral cleaner to avoid damaging the vinyl’s finish. Avoid abrasive cleaners that reduce slip resistance.
- Hospitals: Disinfect daily with medical-grade cleaners (e.g., quaternary ammonium compounds) and a microfiber mop. For high-touch areas (e.g., patient rooms), use a steam cleaner (≤80℃) to kill bacteria without damaging the vinyl.
- Long-Term Maintenance
- Dance Studios: Apply a slip-resistant floor finish every 6 months to restore traction; repair minor scratches with vinyl repair compound. Replace worn areas (e.g., barre zones) promptly to maintain uniform elasticity.
- Hospitals: Inspect welds quarterly for cracks; re-weld damaged areas to preserve sterility. Replace flooring in high-wear zones (e.g., hospital entrances) every 3-5 years (2mm) or 5-7 years (3mm) to maintain hygiene.
- Cause: Air trapped during laying or adhesive open time too short.
- Solution: Puncture small bubbles with a needle and press out air; cut and re-lay large bubbles with fresh adhesive.
- Cause: Inadequate welding temperature or grooving depth too shallow.
- Solution: Re-groove the seam to the correct depth and re-weld at 380-400℃; ensure the welding rod is fully melted.
- Cause: Abrasive cleaning or worn finish.
- Solution: Apply a slip-resistant finish and switch to neutral cleaners; avoid wax-based products that create a slippery surface.
- Cause: Unsealed seams or non-antibacterial materials.
- Solution: Re-weld seams with antibacterial rods and apply an antibacterial topcoat; disinfect weekly with hospital-grade cleaners.
Laying 2mm/3mm commercial vinyl flooring for dance studios and hospitals demands precision in base preparation, adhesive application, and seam welding—with scenario-specific adjustments for elasticity (dance studios) and hygiene (hospitals). By following this step-by-step guide, you can achieve a durable, safe, and compliant floor that meets the unique needs of these environments: a slip-resistant, shock-absorbent surface for dancers, and a seamless, antibacterial surface for healthcare settings.


Leave Your Message
Message us for free samples and quotes!